
While sipping my coffee and watching a nature show about cobras with my older daughter, she suddenly turned to me and said, "Mom, I want to make a book." I have no idea what about cobras in India inspired her to make a book, but that's how life works around here. I watched the cobras eat another snake for a couple minutes, then my brain booted up (maybe it was more the last drops of coffee and less the snake eating snakes) and I remembered how I used to make my own books back in high school. When the show ended and the snakes were all happily settled in their new sanctuary, we headed around the house to round up supplies.

If you want to make your own book, this is what you need:
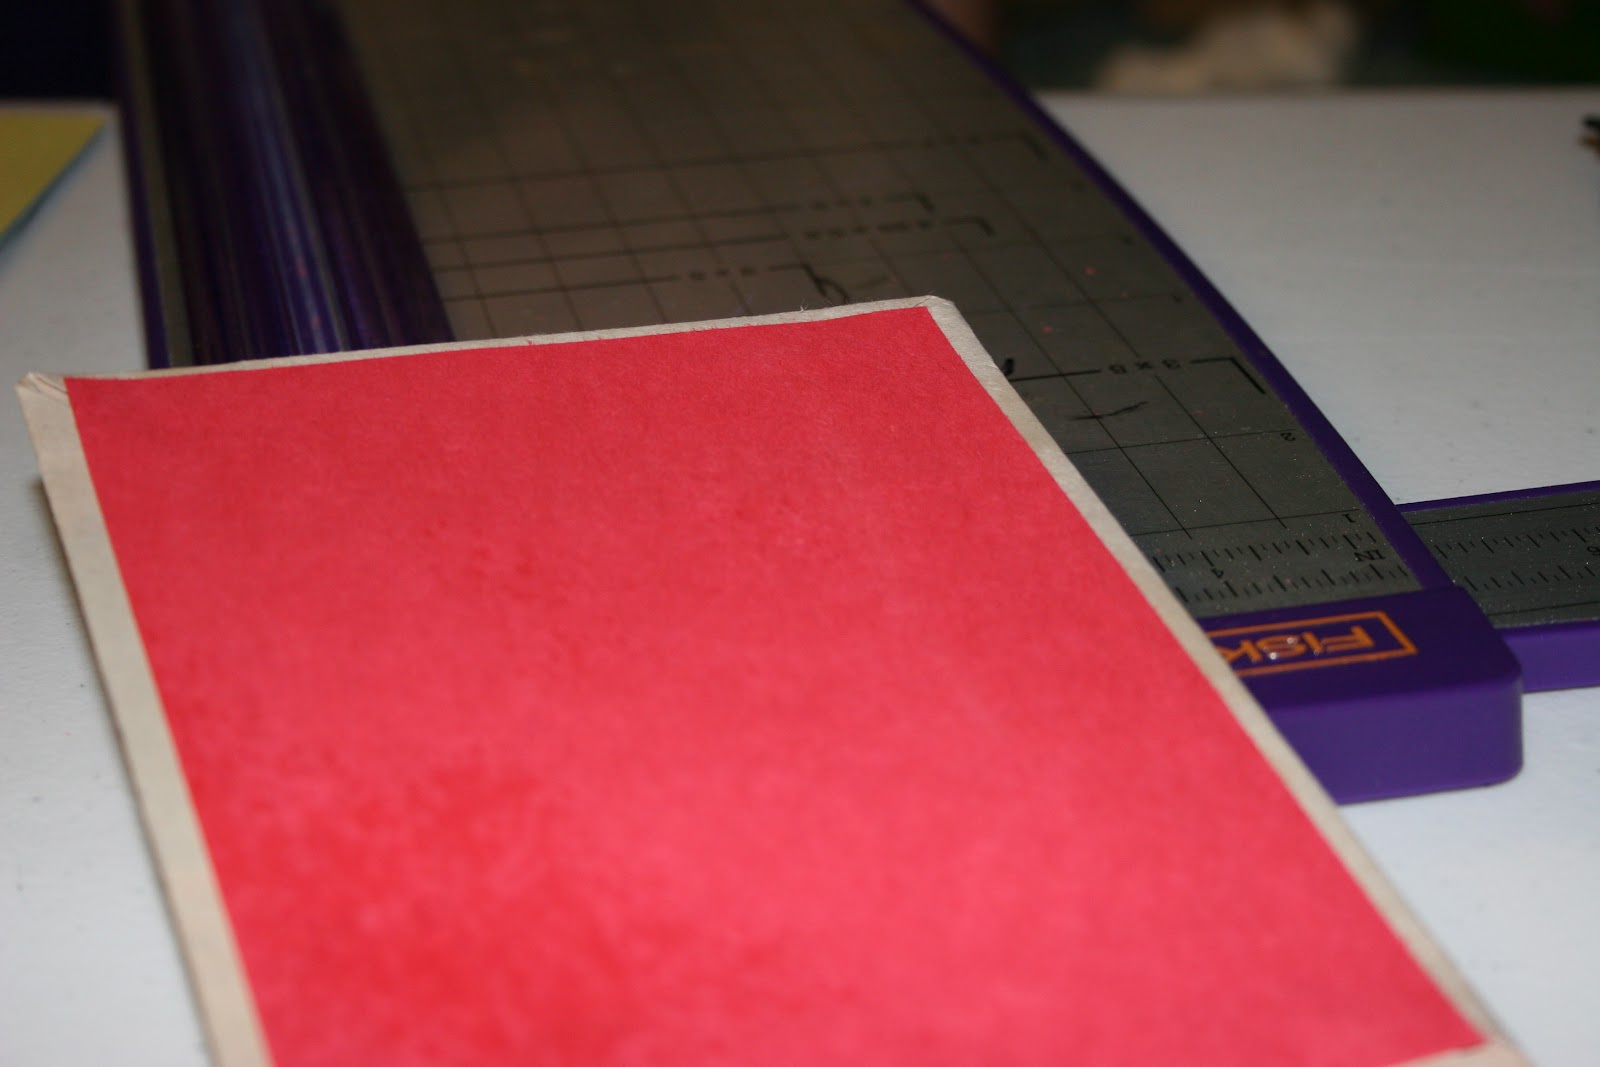
- Scissors or a paper slicer
- Stiff cardboard (the kind included in packs of craft paper works well)
- Pretty paper to cover the outside
- Paper for the inside covers
- Paper for the actual pages
- Spray adhesive
- Hole punch
- Marker and pencil
- Ribbon to bind it with
- Anything else you can think of to make the cover your own

Use your hole punch to make holes along one strip.

To make sure your front and back covers will match up, use a marker to copy the holes onto the other strip and then punch them out.

Cut your inside pages the same size as the front and back covers, trace the holes onto the edges, and punch them out as well.

Cut two pieces of cover paper slightly larger than your front and back covers (I like to give myself 3/4 of an inch on all sides). Spray with adhesive then lay a cover piece and holey strip down. Be sure to leave a slight gap between the pieces to allow the book to open and close.

First fold the corners over, then the sides. Repeat for the other cover.

Cut two pieces of lining paper slightly smaller than the covers (I like to trim off 1/4 inch from all sides). Spray and place down covering the edges of the outer paper where it has wrapped around.
Use a pencil to poke through the holes (if you run your finger along the edge, the holes become more visible as little divots).

Add whatever you want to the front then sandwich all the pieces together with the pages and use a ribbon to bind it all up. To make threading the ribbon through the holes easier, wrap tape around one end.

Some fun variations are using fabric instead of paper (use fusible interfacing and an iron instead of spray adhesive) or cutting up magazine pictures to use as interior pages.
My daughter decided to use her new book to write a story about a shark named Eliza. I can't wait to read it!

I love the cover art! I'm excited to hear this story!
ReplyDelete