Showing posts with label kid art project. Show all posts

Monday, August 13, 2012

"I'm bored."

"I'm bored."
"I thought you were Yasya."
"I'm Bored Yasya.  Bored Yasya is bored, bored, bored."

While I love having my daughters home all summer, and I am not looking forward to early morning running around when school starts again, it is getting harder to fill the days with new activities.  The girls are getting bored, bored, bored.  Enter new art projects!  A project a day seems like a great goal, but trying to come up with new projects that a) don't require buying new materials, b) are easy enough for the girls to do with little help (just supervision), and c) won't add to the clutter in their bedroom can be tricky.  Here are two of the simple projects we have done over the last few weeks of summer which meet all those criteria.

Project 1: Dressing Up Dinos

My older daughter is a future paleontologist.  She loves dinosaurs and has since she was a baby (one of her first words was dinosaur).  After seven years as a dinophile, she has acquired a large collection of plastic dinosaurs.

My younger daughter is a nail polish addict.  It is rare to see her without decorated nails.  Over the years, she has amassed a large collection of nail polishes.  The latest additions to her collection were two bottles of color changing polish her grandfather gave her.

Combine those two loves and you get:


The girls each chose one of Sofi's tiny plastic dinosaurs and one of Yasya's nailpolishes and went to work.  This seems very simple, but painting tiny things with tiny paintbrushes can be tricky and time consuming.  The girls had to be careful to paint thin layers then let them dry before adding a second then third coat.


In the end, after about half an hour of careful work, they each had a new, customized dinosaur.  The dinosaurs which had just been sitting in the bottom of a large bin of extinct animals have new life and new importance.


Project 2: Wall Art Quotes

I am becoming a bit of a Pinterest addict.  The quotes I find are some of my favorite pins.  For this art project, I let the girls browse through my board of Quotes and Such (I did cheat and only show them ones which were appropriate for children and didn't let them browse ALL the pins) and find the quotes they liked.  The criteria was they had to pick a quote that will make them feel happy or inspired, something positive.  Sofi, of course, chose a dinosaur trying to sing, "If you're happy and you know it."  Yasya picked a science quote.

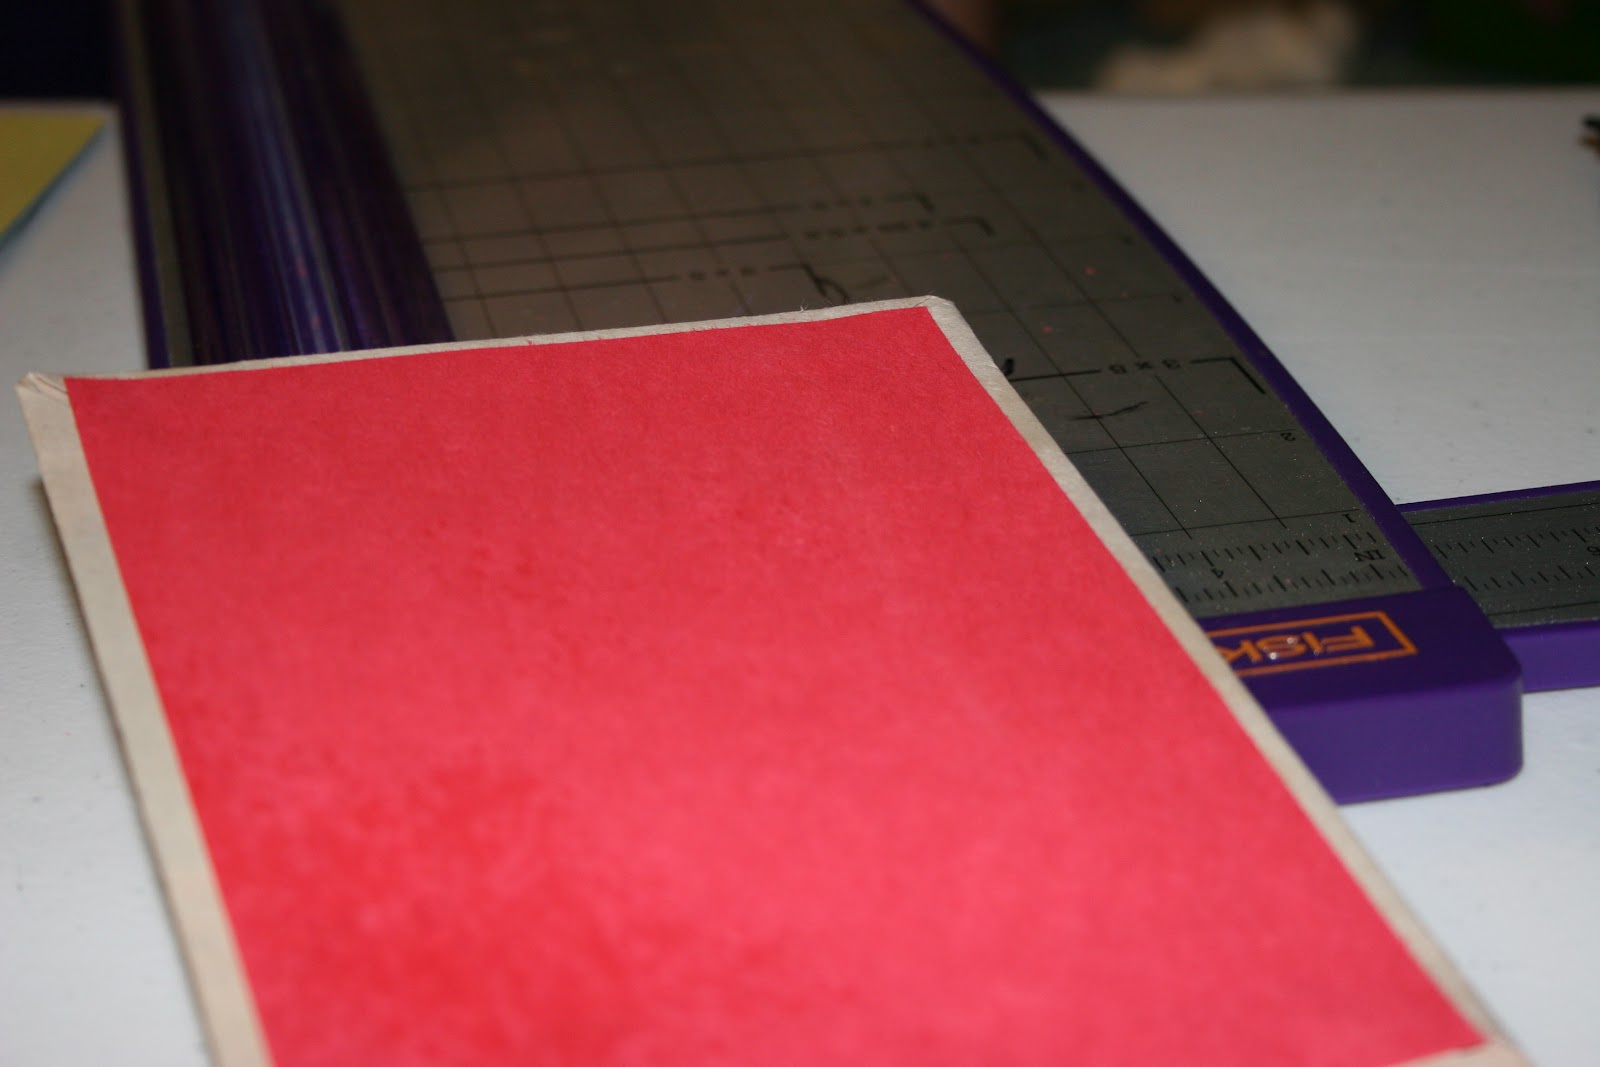
Then the fun began.  An old pad of watercolor paper was pulled out and each girl was given one sheet.  Then they used their inexpensive watercolors, the kind in the little plastic tray, and they got to work painting a background for their quote.


Years ago I had taken a watercolor course at the community college and learned a few tricks.  The girls felt very grown up and like real artists learning some new ways to use their paints (even though what I passed on to them is hardly major art skills, it was new to them).


A lot of thought went into what they would paint, and we had some interesting discussions about the quotes.  Yasya chose to paint space and had some pretty cool explanations of what everything was, then she blurred things together, "cause that's how it is."  When the paint dried, the girls used Sharpies to write the words on their pictures.  In the end, each girl has an original piece of art to decorate her room and something to inspire her whenever she looks at it.


Wednesday, June 6, 2012

"Mom, I want to make a book."

Back in the day, I worked in the gift shop attached to a photography studio.  We sold all sorts of picture related things - albums, journals, scrapbooks, frames.  We also sold kits for making scrapbooks and journals and hosted a variety of crafty classes.  That was a long time ago, and sometimes this old brain of mine forgets that I used to make things other than hats.  Thankfully, I got crafty kids.  Crafty, AMBITIOUS kids.  Crafty, ambitious kids who assume their mom can make anything.  They remind me from time to time that I used to be a crafty, ambitious kid, too, and then my little grey cells get moving and drag up memories of old favorite projects.  That is what happened this morning.


While sipping my coffee and watching a nature show about cobras with my older daughter, she suddenly turned to me and said, "Mom, I want to make a book."  I have no idea what about cobras in India inspired her to make a book, but that's how life works around here.  I watched the cobras eat another snake for a couple minutes, then my brain booted up (maybe it was more the last drops of coffee and less the snake eating snakes) and I remembered how I used to make my own books back in high school.  When the show ended and the snakes were all happily settled in their new sanctuary, we headed around the house to round up supplies.


If you want to make your own book, this is what you need:
  • Scissors or a paper slicer
  • Stiff cardboard (the kind included in packs of craft paper works well)
  • Pretty paper to cover the outside
  • Paper for the inside covers
  • Paper for the actual pages
  • Spray adhesive
  • Hole punch
  • Marker and pencil
  • Ribbon to bind it with
  • Anything else you can think of to make the cover your own
The first step is deciding how big you want your book.  Cut two pieces of cardboard that size (my daughter decided 4" x 6" would be just right).  Then decide how you want your book to open.  Cut 1" off along which ever edge will be the binding on both the front and back pieces.


Use your hole punch to make holes along one strip.  


To make sure your front and back covers will match up, use a marker to copy the holes onto the other strip and then punch them out.  


Cut your inside pages the same size as the front and back covers, trace the holes onto the edges, and punch them out as well.


Cut two pieces of cover paper slightly larger than your front and back covers (I like to give myself 3/4 of an inch on all sides).  Spray with adhesive then lay a cover piece and holey strip down.  Be sure to leave a slight gap between the pieces to allow the book to open and close. 


 First fold the corners over, then the sides.  Repeat for the other cover.  


Cut two pieces of lining paper slightly smaller than the covers (I like to trim off 1/4 inch from all sides).  Spray and place down covering the edges of the outer paper where it has wrapped around.  


Use a pencil to  poke through the holes (if you run your finger along the edge, the holes become more visible as little divots).  


Add whatever you want to the front then sandwich all the pieces together with the pages and use a ribbon to bind it all up.  To make threading the ribbon through the holes easier, wrap tape around one end.


Some fun variations are using fabric instead of paper (use fusible interfacing and an iron instead of spray adhesive) or cutting up magazine pictures to use as interior pages.


My daughter decided to use her new book to write a story about a shark named Eliza.  I can't wait to read it!